How to Install a Towel Ring: Easy Step-by-Step Guide for Beginners
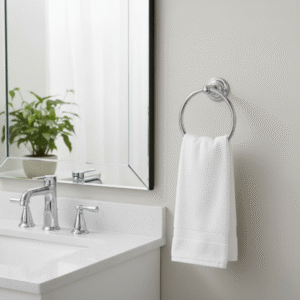
How to install a towel ring is a question many homeowners ask when upgrading their bathroom accessories. A towel ring is more than just a decorative piece; it’s a functional product designed to keep hand towels neatly in place, promote faster drying, and create a clean, organized look in your bathroom. Whether you’ve purchased a sleek chrome towel ring, a modern matte black model, or a brushed nickel design to match your faucet, installing it correctly ensures durability and everyday convenience.
Why Choose a Towel Ring?
Unlike bulky towel bars, towel rings are compact and space-efficient. They’re designed for daily product use, keeping your hand towel within easy reach after washing up. Most modern towel rings are made from rust-resistant stainless steel or zinc alloys, ensuring long-lasting performance even in humid bathroom conditions. Many also come with concealed mounting hardware, giving you a seamless and professional finish once installed.
Tools and Materials You’ll Need
When installing your new towel ring, you’ll need both the product and some basic tools:
- Towel ring kit (includes the ring, wall mount bracket, screws, and Allen wrench if required)
- Drill and drill bits
- Screwdriver
- Level
- Pencil
- Tape measure
- Wall anchors (if mounting on drywall)
- Stud finder (optional)
Step 1: Select the Right Location
The first step in learning how to install a towel ring is deciding where your product will be most effective. Manufacturers recommend mounting towel rings 20–22 inches above the sink so the towel hangs freely without touching the countertop. This ensures the product serves its purpose while maintaining bathroom hygiene.
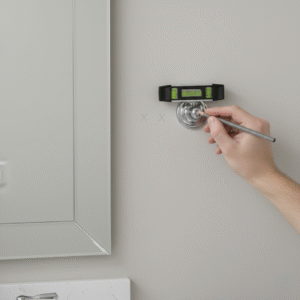
Step 2: Mark the Mounting Points
Hold the towel ring’s mounting bracket against the wall in your chosen location. Use a level to ensure it’s straight, then mark the screw holes with a pencil. Since the bracket is the key product component that secures the ring, accurate placement is essential.
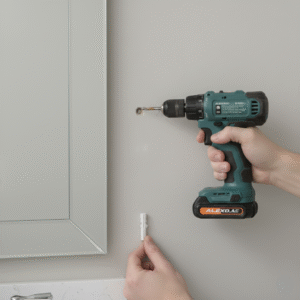
Step 3: Drill and Insert Anchors
Drill small pilot holes at your marks. If you’re attaching the product to drywall and not a stud, insert wall anchors for stability. Quality towel rings are designed for everyday use, and wall anchors help ensure the product won’t loosen over time.
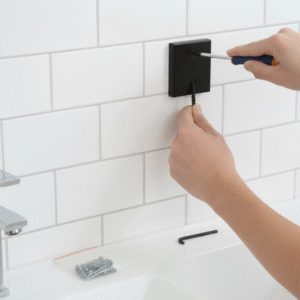
Step 4: Secure the Mounting Bracket
Attach the towel ring’s bracket using the screws included in your product kit. Make sure the bracket is flush with the wall and tightly secured. This is the foundation that will hold the towel ring in place.
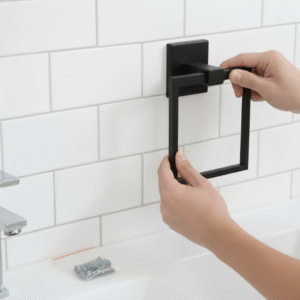
Step 5: Install the Towel Ring
Slide or snap the towel ring onto the mounting bracket, depending on the design of your product. Many models include a small set screw that you’ll tighten with an Allen wrench often provided in the box. This ensures the product is firmly locked into position.
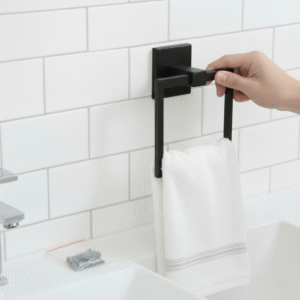
Step 6: Test the Product
Gently pull on the towel ring to test its stability. Hang a hand towel to confirm the product functions as intended and that the towel doesn’t touch the counter.
Product Use and Benefits
A properly installed towel ring makes daily routines smoother. Simply slip your hand towel through the ring after use. It stays in place, dries faster, and reduces countertop clutter. The compact design of most towel rings also makes them ideal for powder rooms and small bathrooms, where space is limited but functionality is still needed.
Final Thoughts
Now that you know how to install a towel ring, you can see how easy it is to maximize the benefits of this bathroom product. With just a few tools and the included hardware, you can set up your towel ring in minutes and enjoy a more organized and stylish space. For homeowners who want professional installation or expert product recommendations, Benner Plumbing & Heating Ltd. is your trusted partner for quality bathroom upgrades.